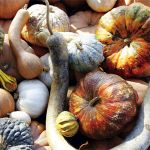
“When the weather cools and the harvest season sets in, the field is full of them, and that’s a pretty good reward.” For the past four years, Limehouse’s pumpkins have made their way to doorsteps and dinner tables across the Lowcountry—a small miracle if you ask Sidi: “They need a lot of attention, a lot of TLC.” Still, the fruit is an indigenous South Carolina crop, enjoying a rich heritage in other, less humid parts of the state. A small town northwest of Greenville owes its name to pumpkins after native Cherokee Indians introduced settlers to the naturally occurring, squash-like fruit—hence the settlement’s name, Pumpkintown, South Carolina.
Eat: Low in fat and cholesterol, these gourds are packed with vitamins, minerals, and beta-carotene. Just one cup of cooked pumpkin will serve up as much as 245 percent of your daily dose of vitamin A, an element critical to preserving vision and skin health. What’s more, scientists have uncovered a molecule in pumpkin that facilitates the regeneration of insulin-producing cells destroyed by diabetes.
Grow: Ready to sow your own seeds? Cultivating pumpkins here is difficult, certainly, but they can be a viable crop even in small home gardens. First, we recommend choosing seeds based on what you plan to do with the pumpkin—whether you’ll use for display or for cooking. All pumpkins require anywhere from 70 to 120 days to mature, so it’s best to lay seeds between July 1 and 15 for coastal regions and June 15 and 30 for central parts of the state, to ensure fruit will be ripe by autumn. Plant on raised beds about three feet apart (to promote drainage) and water liberally to encourage deep rooting. Avoid getting leaves or fruit wet. And because humidity is often the pumpkin grower’s biggest hurdle, use organic mulch of pine or wheat straw to protect the fruit from wet ground. Old shingles also work well, as plastic or paper materials only trap moisture.
Carve & Cook: Whether you’re selecting pumpkins from a local market or harvesting your own, choose only mature fruit with a deep orange color and no soft spots. In the kitchen, opt for sugar pumpkins because they are meaty and come with fewer stringy fibers than other varieties. Good picks for carving are Autumn Gold and Jack-o’-Lantern for their large sizes and intense orange color. So what to do with these multi-hued veggies once you’ve got them? We’ve compiled a rich assortment of recipes and crafts to keep you busy through the end of this year’s crop. From the breakfast table to the mantel, we suggest making pumpkins a part of your fall repertoire.
Carve a serve-yourself wine station out of a large Autumn Gold or Jack-o’-Lantern pumpkin for a perfectly practical ice bucket. Accent the cool display with a festive message etched into an array of the smaller La Estrella Calabasa and sugar pumpkins (letter templates available at www.charlestonhomemag.com). 
Materials
With the knife, cut a ring around the top third of pumpkin until top is loosened enough to remove. Scrape out pulp and seeds with the spoon. Lower bowl into the opening, carving out more of the interior of the pumpkin until it is large enough to fit the bowl. Fill with ice and a selection of beverages.
Materials
Using the serrated knife, cut a small ring around the pumpkin stem until top is loosened enough to remove. Scrape out the pulp and seeds with the spoon. Wipe outside of pumpkin clean. Tape the letter template to pumpkin. With the ice pick, pierce evenly spaced holes into the pumpkin, following the shape of the letters. Remove template from pumpkin and use the spoon to clean any stray pieces from inside. Place candle inside. Repeat until your message is complete.
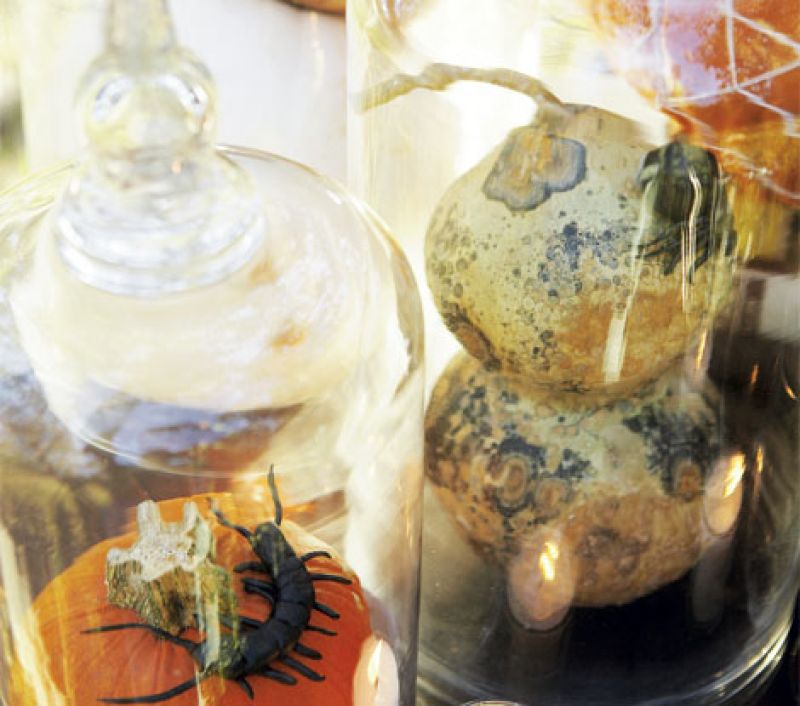
Ready to greet pint-sized trick-or-treaters? Spin a stringy web across a sizeable pumpkin, add an assortment of small ornamental gourds, and draw a spine-chilling crowd of creatures, fashioned from Sculpey and painted with acrylic paint. 
Materials
Tape one diagram template to the face of the pumpkin, using the second as a guide that will reman intact. Push pins into the pumpkin to correspond with the nine outermost points on diagram. Repeat along each of the rings, being sure to align each pin with its diagram counterpart. When you reach the web’s innermost point, place center pin (the pins should form nine straight lines originating from center pin to outermost pins). Carefully lift paper template out from under all the pins (this will rip the paper), leaving pins in place. To fashion the web, anchor one end of string by tying a knot around exterior starting point (noted on the diagram). Move clockwise from one pin to the next, looping the string one time around each pin as you go. The string should be fairly tight. When you reach the starting point, reverse and double the string. Move to the next ring using the same piece of string (see diagram) and follow previous steps for each interior ring. When you reach the last full ring, tie a knot around your last pin and cut string. With remaining length of string, create intersecting lines. Tie knot around one outermost point and follow line down to center pin and double so that you end where you started. Tie knot and trim string. Repeat on other eight outer pins to create nine intersecting lines. When web is complete, push all pins far enough into pumpkin to make them even and inconspicuous.
Offering instant street cred here in Charleston, monogrammed pumpkins are easy enough to achieve: first, print off letter templates (find them here) in a font and size that suits your gourds (we used Valenciano pumpkins). Adhere template and, with a sharp pencil or pen, trace the exterior. Then, simply remove the template and fill in the letters using acrylic paint. 
Not reserved for December’s yuletide greetings, wreath-making is just as well-suited for the colorful fruits of the autumn garden. Hang a harvest wreath, like this one made from a moss-covered form and small groupings of ornamental gourds in varying shapes (how-to on page 152), on the front door or use to dress up alfresco fêtes. 
Materials
Wind wire around top of wreath form twice. Then twist a loop in back to use as a hanger. Using a glue gun, attach sheet moss evenly over form until it is completely covered. Fill in bare patches as needed, but make sure hanger on the back remains accessible. Use a hammer and nail to create a hole about one-third of the way through each gourd. Push a floral pick into each hole and secure with glue. Arranged in groups of three, attach gourds to the wreath by pushing floral picks into form. Accent by tying lengths of raffia between the groupings.